


Now, before we get started today, I want to take a few moments to reflect on today's date in American history out of respect.
It is, of course, the anniversary of 9/11.
People always talk about where they were on this day, when the world Trade Center fell. I myself was just a child when 9/11 took place, and I lived clear on the other side of the states. I had barely started the first grade, but that doesn't mean I was unaffected by the events that occurred that day. I remember the news being on in the living room, my mom talking in quiet voices on the phone, her face more serious than I could ever recall in living history...There were other things I remembered. Images and words I didn't understand out of context. Mostly talk about planes. I remembered feeling frightened, confused, and scared.
That's where I was. I feel like its our duty to remember what happened and to reflect on the great compassion and courage displayed that day by the American people united as a single entity by the aftermath of disaster. I was only 6 years old, but I will never forget.
Now that our respects have be payed, let's get started.
This project was inspired by a DIY craft tutorial posted on Youtube by username HeyKayli, titled "DIY Jewelry Holders!!" (click here to watch the original video). I just thought her DIY idea for turning old picture frames into jewelry holders were so super adorable! So of course, I watched her video from beginning to end, and made a mental note to try out her super chic tricks!

The concept was to take cheap picture frames that you can pick up anywhere--Walmart, Walgreens, Jo-Ann's Fabric and Craft, Hobby Lobby, Michael's, Dollar Tree-- repaint and decorate them, then add a mesh backing for the earrings to hang off of.
The backings she used had an incredibly unique and gorgeous pattern, but guess what they were? Tin radiator covers from Home Depot. The idea has merit, and obviously worked great for her personal project, but what she didn't mention was just how expensive these radiator covers are.
Inspired to make my own, I looked up Home Depot's prices for myself, and wow, was I in for a shock. I found the exact same 3' by 3' radiator sheet from her video online for the price of $22.78. And yes, keep in mind this is for a single sheet of tin. I'll even throw in the link so you can check it out yourself by clicking here. And as you will notice, this is one of the cheaper sheets. Now, this may be a great price for a radiator sheet when used as intended, or for DIY picture frames that you plan to resell for mondo bucks, but if you're like me, you see the insanity in investing that much in a couple of cheap picture frame projects that may or may not go quite according to plan. So already I had to make some adjustments to her project before I even got started.
But not to worry! I found a fabulously cheap replacement for the expensive mesh sheets at my local all-purpose Walmart Super Center! So are you ready? Let's DIY!
The most essential thing you will need is a clean, solid working space. I cannot stress this enough. Crowded and messy may be your style (and often its mine too), but it seriously complicates every do it yourself project process 10 fold. Being lazy just isn't worth it.
In addition to a flexible working space, you'll need a few trusty craft materials and tools: A cruddy old picture frame of your choice, a hot glue gun and hot glue (I am personally using a mini glue gun with mini glue sticks), a sturdy pair of scissors, something mesh that your earrings can hang onto (I go into detail about what I'm using below), paint brushes, an old cup for the paint water, spray fixative (optional), and black acrylic craft paint.

Literally all of the above was purchased at Walmart. I cant guarantee that the frame was, but if not, it probably came from a dollar store of some sort.
So this is what I'm going to use for the "mesh" that the earrings will hang on in replacement of the radiator cover that HeyKayli used. The moment I saw this Autumn themed place mat at Walmart, I absolutely knew what purpose it was meant to serve, and that wasn't to be sitting beneath my dinner. This single 1 and 1/2 foot by 1 foot place mat cost $2.98. Yes, its flimsy-ish, but I just call that flexible. It serves the same purpose perfectly as long as you cut the correct dimensions and attatch it to the frame accordingly, and is much, much easier to cut. In HeyKayli's video, she mentions using a special tool purchased at Home Depot just to cut the tin, which racks up your investment price even higher. Trust me guys, this is what you want. All I'm seeing are pros.

And here it is from the back. We're going to have the front showing since it has a very nice, shimmery texture to it that looks very refined. Note: There were other mats with other colors and variations. Meaning we can also skip the step of spray-painting our "mesh" if we wanted to. How cool is that?

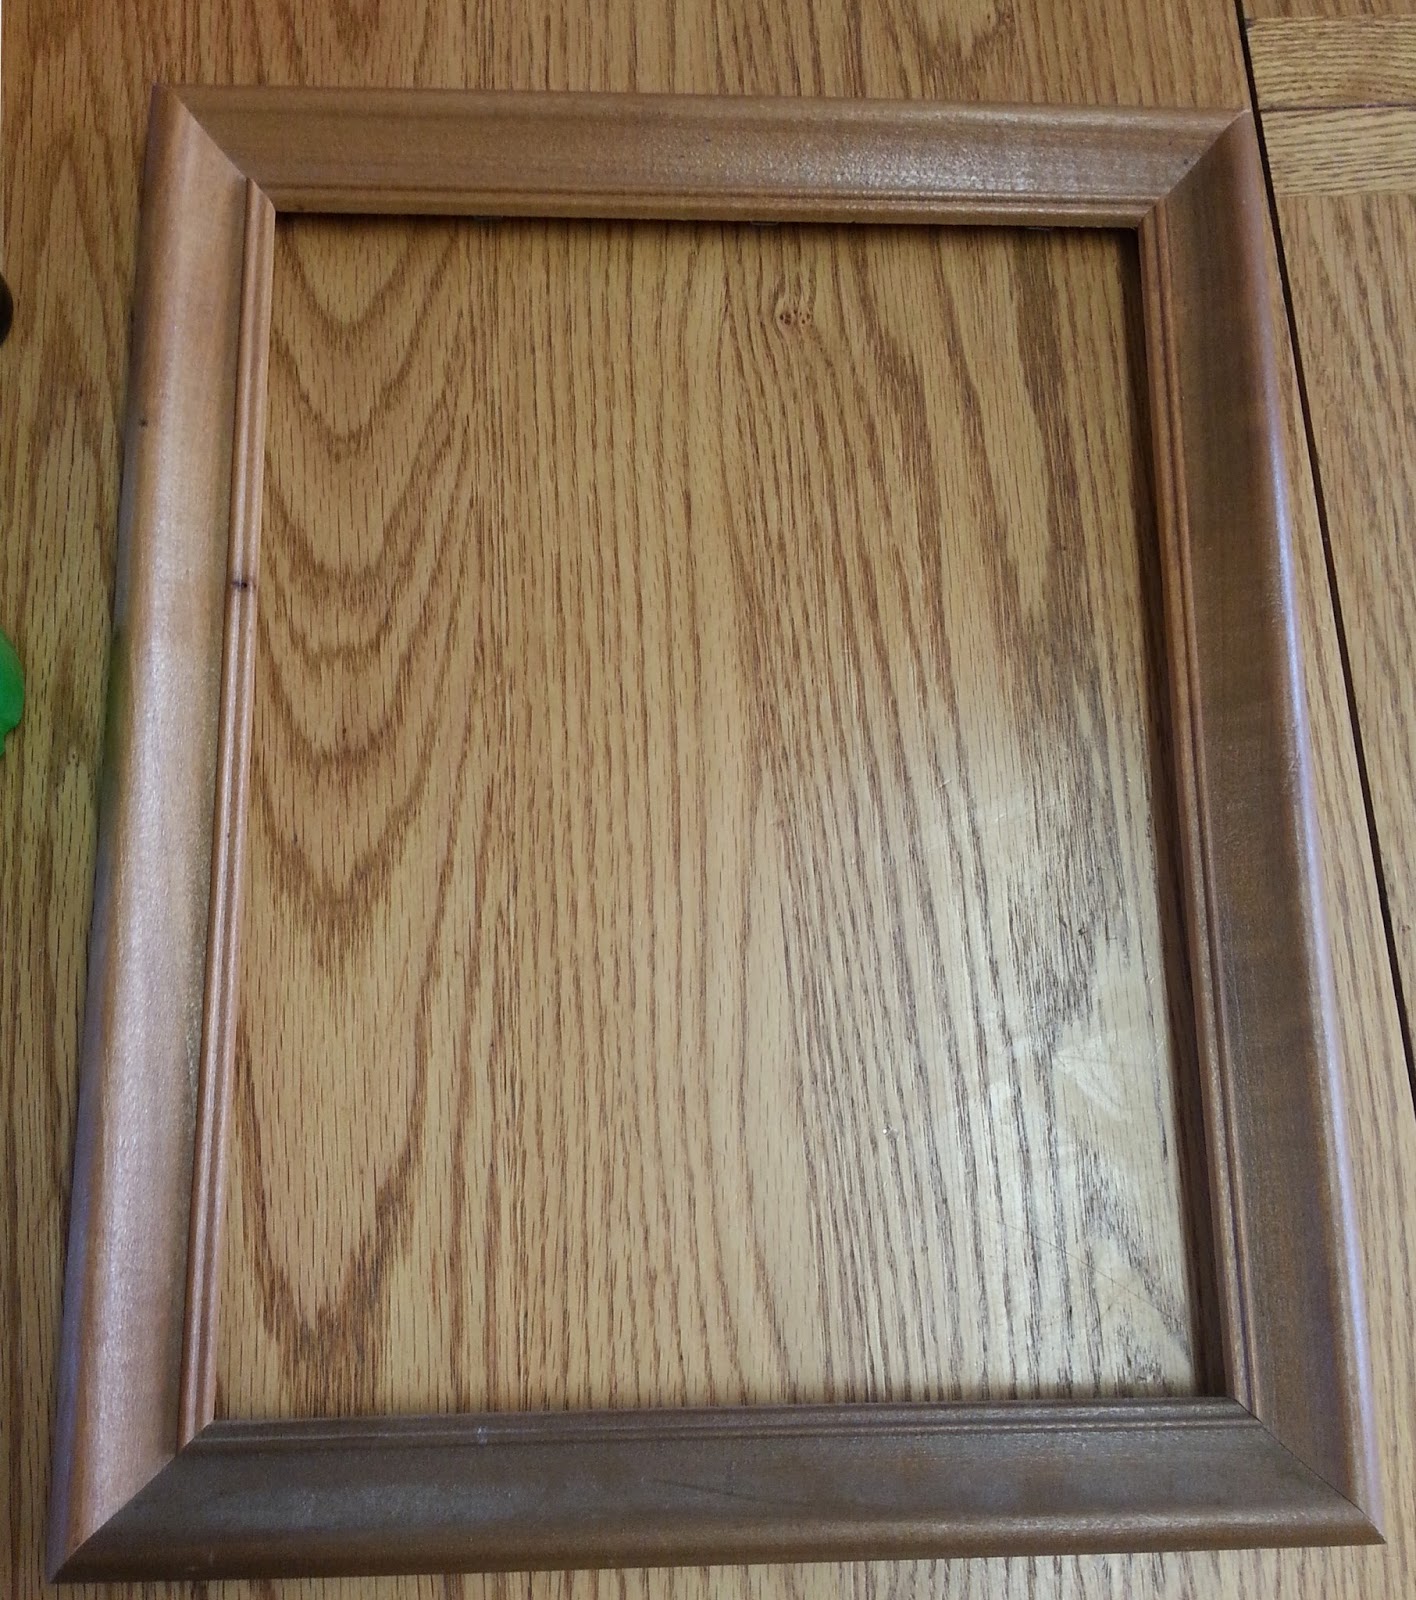
So here is my picture frame. It's dusty, cheap, and has a funky texture that's just barely smooth enough that I believe paint will go on in even coats. I've chose black craft paint to help shield the eye from some of the dents and nicks in the wood. A lighter shade of paint would be fine also, but the relief from the shadows would become more visible. Ultimately the color is up to you, your preferences, and how you want the finished product to look.

The first thing we want to do is carefully flip the frame over. Now, most of you have put pictures in a picture frame before, so this part should be a cinch. Just unbend the little tabs holding the cardboard in place by pulling them towards you until they stick straight up in the air. Be careful- yanking to hard can cause the metal to bend too much and break. If any of them do, don't sweat it. Nobody's going to be staring at the back once its done anyways. Place your hand beneath the glass on the underside and push up to unstick the cardboard and glass from the wooden frame.

Remove the cardboard and glass carefully and set aside. We won't be using these for this project, but may be useful for a future craft endeavor. If you don't believe you'll have any use for these pieces, feel free to toss them. Next you want to wipe your frame down with a damp towel or cloth, removing any dirt or dust from the surface. This will help the paint stick to the surface much more efficiently.

We're ready paint! Believe it or not, we're halfway there. I've chosen to use Daler Rowney Simply Acrylic paint in black, but again, you can use whatever color or brand you'd like. I believe I paid either $3.00 or $4.00 for this 2.5 fluid oz. bottle. Just make sure you're not using a paint that's too cheap, otherwise you may have a runny mess on your hands. Make sure you're using acrylic! Trust me on this. Water color or oils will not work the way you'd think they would.

Any brushes of any size are fine, although I personally used a brush with a small-ish tip so I could easily get paint into the creases of the frame without drowning it and having it dry with massive black clumps. On the other end of the spectrum, don't use a brush that's too small or you'll be spending hours painting a frame that should only take approximately 20 minutes to paint. Don't worry about painting the back, but make sure you get the outside edges and the inside edges, so the frame appears to have always intentionally been the color that it will soon be.

Flip your picture frame over carefully (you don't want to scuff that new paint job), and lay the place mat over the back, lining up the edge with the inside edge of the frame, where the glass snugly fir before. Either mark out the edges where your mat needs to be cut, or you can eyeball it like I did. If you mark your mat, make sure you're marking on the back of the mat, and do so lightly so it won't show up on the front.
The next step is the trickiest, and yet is super straightforward and easy. Remove the mat, and draw a line of hot glue across the top inside edge of the frame. Fit the top edge of the mat into the cranny, straightening it best you can before the glue completely dries, double-checking that the edges are still lined up. Remember to act fast! Hot glue dries extremely quickly, and holds on good. You should be able to pull it off and retry if you mess up however, so don't panic if you find its lined up incorrectly. Just peel away the glue from the surface of the frame first, then the mat edge, then try the process of gluing over again. Repeat with each edge. The tricky part is lining up the sides. Since the mat isn't stiff you'll need something to hold it in place--gravity. Lean our frame against a wall, chair, or other surface before pressing the mat into the glue. This will increase the chances of lining it up correctly since it will hang vertically.

Here is the final product!


Check it out: the small holes in the leaves can hold stud earrings too!

At the end, we've taken a junky old picture frame and a place mat, and with a little glue and paint, upcycled them into a stylish and trendy earring holder!
So, as for my rating on the project as a whole inspired by HeyKayli:
Difficulty: 5 stars. This project is super simple!
Cost: 1 star. Absolutely horrendous. Thank goodness the Walmart gods seemed to have smiled upon me.
Efficiency: 5 stars. As long as you've got hot glue, there's not much that can go wrong here.
All in all, I think this would be a great project for anybody to tackle. If you're new to the world of DIY, give it a go. Don't be afraid to try something new. This project is quick, easy, and the end product looks extremely polished. Plus, you can take it even further than what I did here by adding extra decorations or decals or experimenting with different types of frames or mixing and matching textures. Thank you HeyKayli, for sharing your ideas with us, and inspiring this twist on your super cute and creative DIY jewelry holders!
If you do get inspired to try a little picture frame DIY of your own, tweet me the pics or share them on Facebook! I'd love to see what you guys come up with. Until next time, Yours truly:
Krystal Dawn.
Facebook: Krystal Dawn
Twitter: KrystalDawnArt


0 comments:
Post a Comment